
One of the things we love about restoring classic Land Rover Defenders is the transformation that takes place from the tatty donor vehicle to the final product. Follow along the process as we show you what it takes to bring a Defender back from the verge of being scrapped to becoming a family heirloom.
The Donor Defender Project – The Beginning
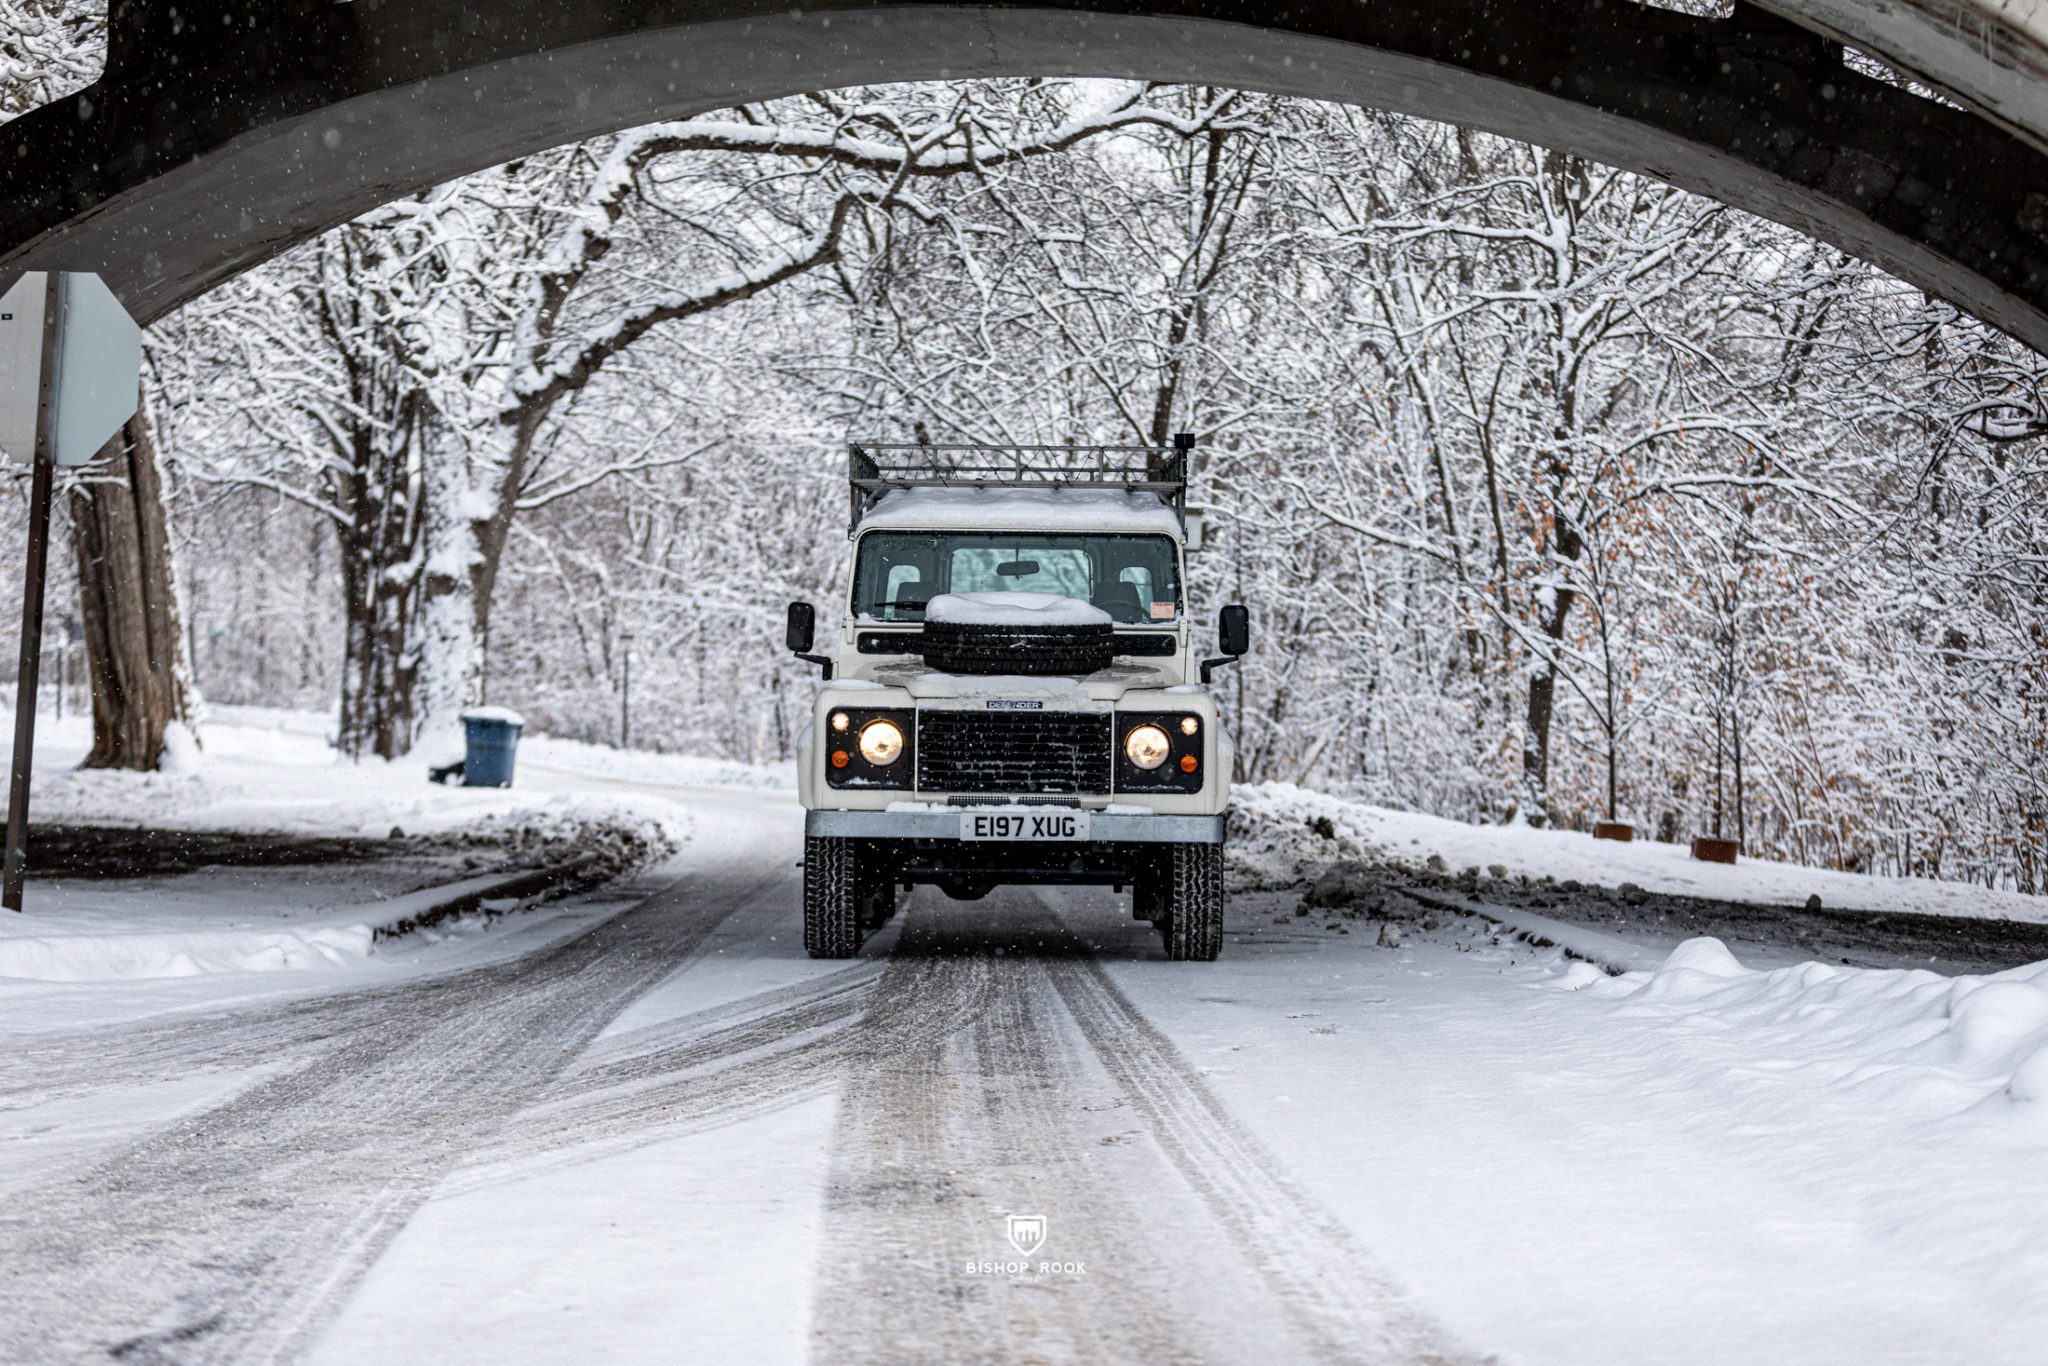
This Land Rover Defender 110 Commerical came into the workshop in rough shape. The previous owners had planned on restoring it themselves, but a few changes in their priorities led to them abandoning the project. They had already collected a variety of spare parts, panels, and pieces, which we would acquire in one batch. Not only would we be able to save their project, but the parts they sent with the package ended up helping us save another 3 door Defender in the process. In terms of rescue missions, this one was a big project.


Disassembly and Assessment of the Donor Defender
Once we’ve completed the initial visual inspection of the donor vehicle and checked to ensure the VIN is visible and all the paperwork checks out to ensure the vehicle will be export eligible, we begin the disassembly process. This is the part of the project where we find all the hidden damage and dirty secrets of 25 years of heavy commercial use.


As you can see from the gallery, there were a lot of rotten panels on this particular Defender – from years of neglect and poor maintenance. The doors were rotten, the bulkhead rusted out, various panels dented, and parts of the seat box were gone, but for the most part, it was a very restorable vehicle. We would not recommend the average person take on a project this far gone – it wouldn’t be economically or emotionally viable. We knew we were taking it all the way down to a bare chassis, so we weren’t too concerned with the bad bits. We find it pretty entertaining most times, actually.
Chassis Restoration and Surgery
We send each chassis through a fairly aggressive media blasting process. This helps us remove rust, scale, chassis treatment, paint, and anything that could hide potential problems. Far too many Defender “restorations” are simply paint-over cosmetic refreshes and ignore the most critical elements of the build.

Having a bare chassis allows us to repair any previous work, reinforce sections of the chassis, and replace any deteriorated components with fresh metal. This chassis is pretty typical of a UK-based Defender that hasn’t been fully stripped and restored. The wet climate and dirt create a welcoming client for rust and corrosion to start eating away at the frame. We also use a scope camera to check for issues hidden inside the boxed chassis. We aim to bring the chassis back to factory condition (or better).


Documentation + Client Transparency
We document each step of our restoration process with our clients. This creates an interactive build process but also provides background history for the project if the owners ever decide they want to sell their Defender (it rarely happens). Having proof of a proper restoration ensures the Defender will maintain full value over time – knowing that nothing was left untouched.
Bodywork and Paint
While our specialty teams are refurbishing the chassis, engine, gearbox, and running gear, the bodywork is in our paint shop, where we decide what we can save and what needs to be replaced. Fortunately, we have exceptional resources to find virtually every replacement part we would ever need – from complete bulkhead and doors to fitting brackets and fasteners.
Stay tuned for Part Two of Project Steele, as we show the paint work and assembly process.


You must be logged in to post a comment.